Precise Control of Vector Paths for Your Laser Projects
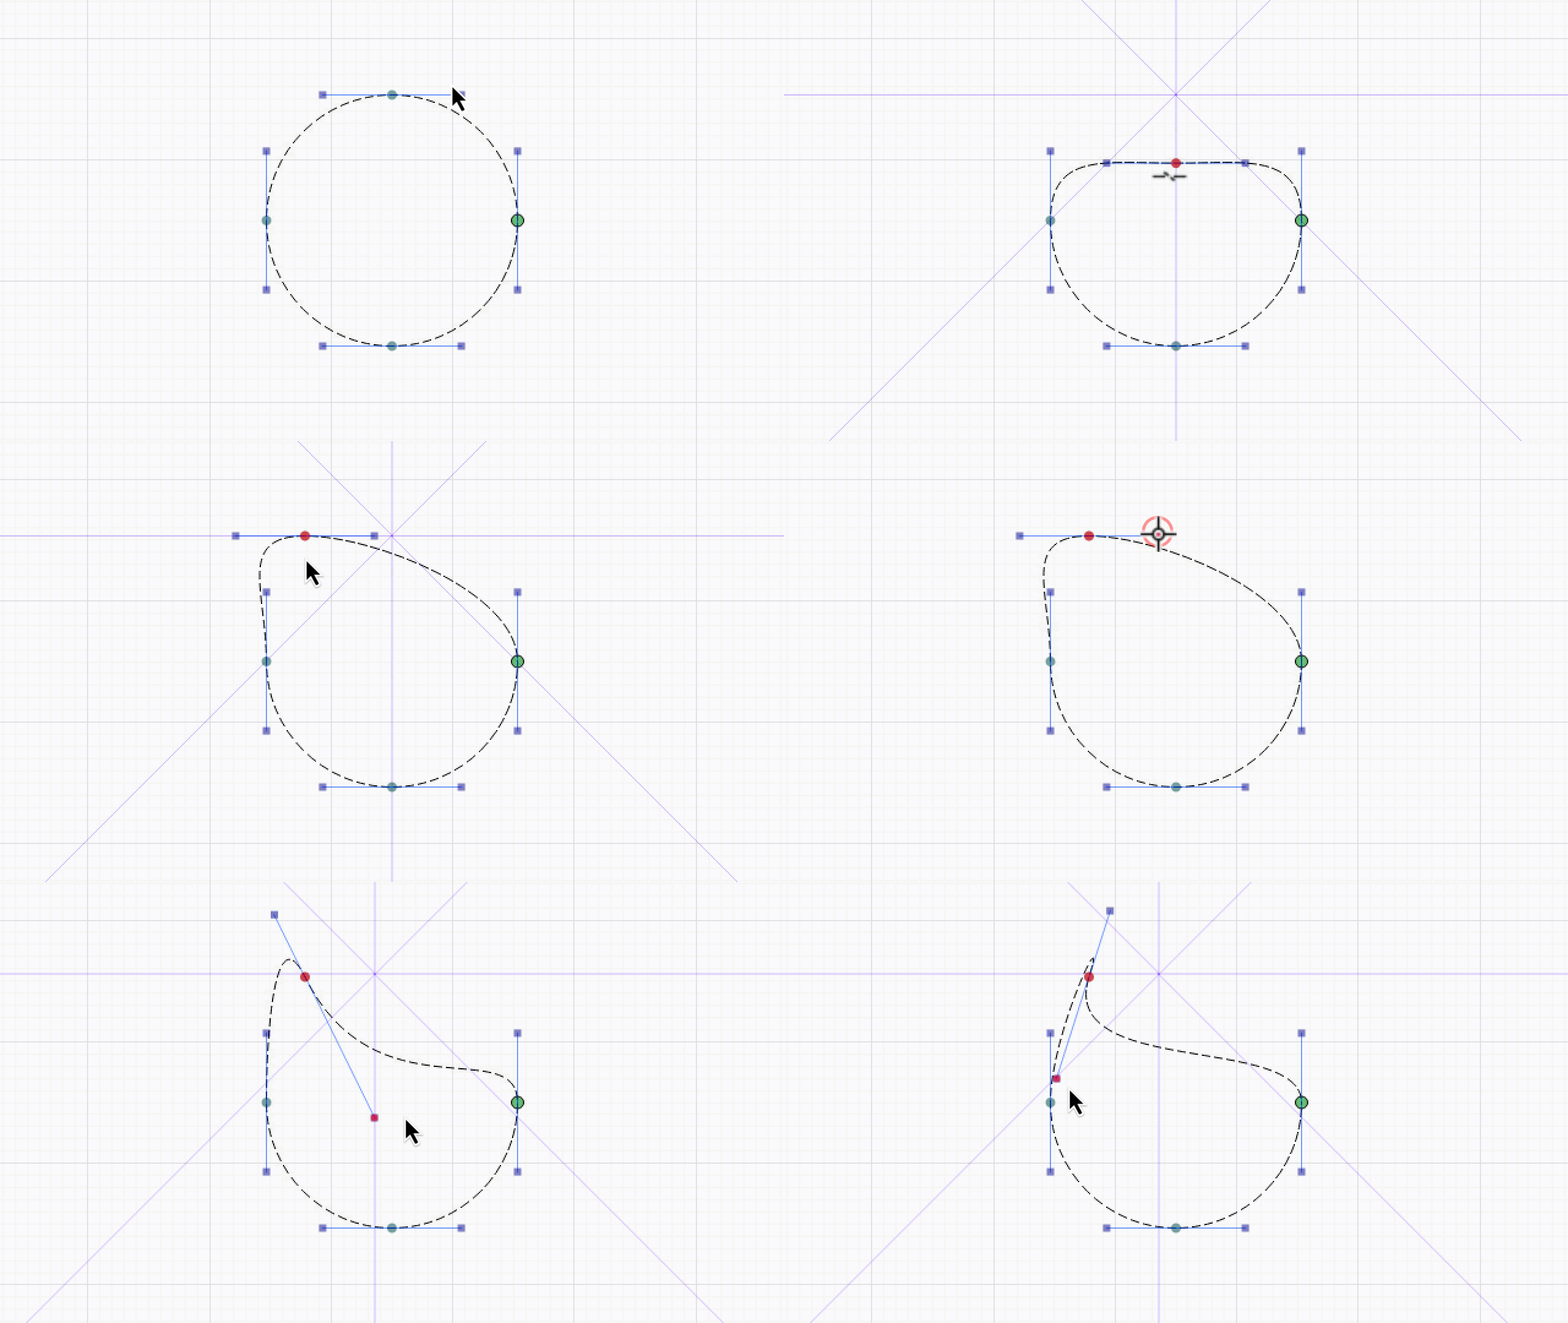
The Edit Nodes Tool lets you make detailed adjustments to vector paths by manipulating nodes (anchor points), lines, and curves. It provides granular control over designs, allowing you to move, modify, or delete individual components for precise edits.
Nodes are linked by straight lines or curves, which can be adjusted using handles (tangents) to change their length and direction.
How to Access the Edit Nodes Tool

Location
- Tools Toolbar: Click the Edit Nodes icon.
- Menu: Tools → Edit Nodes
- Keyboard Shortcuts:
- Windows: Ctrl + `
- Mac: Cmd + `

Using the Edit Nodes Tool

Enable the Tool
- Select the Edit Nodes icon or press the keyboard shortcut.
- If an object is selected, its nodes will appear.
- If no object is selected, click on any object in the Workspace to begin editing its nodes.
Mouse Actions
- Move Nodes or Handles: Click and drag nodes, handles, or curves to reposition them.
- Add to Selection: Hold Shift and click another node or handle to move multiple points together.
- Convert Lines to Curves: Drag a straight line to turn it into a curve.
- Join Nodes: Drag disconnected nodes onto each other to join them and create a continuous path.
Keyboard Actions

Hover over the Edit Nodes tool in the toolbar to see a quick reference for these commands:
| Action | Key | Description |
|---|---|---|
| Delete Node | D |
Removes a node and combines adjacent lines. |
| Insert Node | I |
Adds a node at any point on the path. |
| Insert Node at Midpoint | M |
Adds a node halfway between two existing nodes. |
| Convert to Corner Node | C |
Converts a smooth node to a corner (handles have independent angles). |
| Convert to Smooth Node | S |
Converts a corner node to smooth (handles align to the same angle). |
| Break Shape at Node | B |
Opens the path at the selected node. |
| Delete Line | D |
Removes a line or curve, splitting the path. |
| Convert Curve to Line | L |
Straightens a curve by converting it to a line. |
| Convert Line to Curve | S |
Adds handles to a straight line, turning it into a curve. |
| Align Segment to Angle | A |
Rotates a segment to align with the nearest horizontal, vertical, or 45° angle. |
| Trim Line | T |
Cuts a line back to the next intersection with another path. |
| Extend Line | E |
Extends a line to the nearest intersecting path. |
Advanced Features
Snap to Existing Geometry
- Nodes and handles can snap to points on other shapes for precise alignment.

Constrain Movement
- Hold Shift while moving a node or handle to limit movement to 90° or 45° angles.
- When multiple nodes are selected, only the last-selected node’s movement is constrained.

Requirements for Using Edit Nodes
- Paths Only: The tool works exclusively with paths created using the Draw Lines Tool or imported vector objects.
- Convert to Path: Convert Text, Rectangles, Ellipses, Polygons, and Barcodes to paths using Convert to Path before editing.
- Ungrouped Objects: Ungroup any grouped objects to use Edit Nodes.
How to Practice
Experiment with the Edit Nodes tool by creating simple shapes and modifying their nodes. Use snapping, keyboard shortcuts, and constraint features to refine your skills and improve precision in your designs.
Conclusion
The Edit Nodes tool in LightBurn empowers you to refine vector paths with precision. Whether you're adjusting curves, joining nodes, or customizing shapes, this tool is essential for detailed and professional laser engraving designs.
